Introduction
I am building a SaaS application called Cloudpress, which exports content from Google Docs, Google Sheets, and Notion to various Content Management Systems (CMSs). All the applications Cloudpress integrate with expose their functionality via some sort of API.
Besides the applications we need to interface with for managing content, there are other infrastructure related services such as uptime monitoring services, email automation, etc.
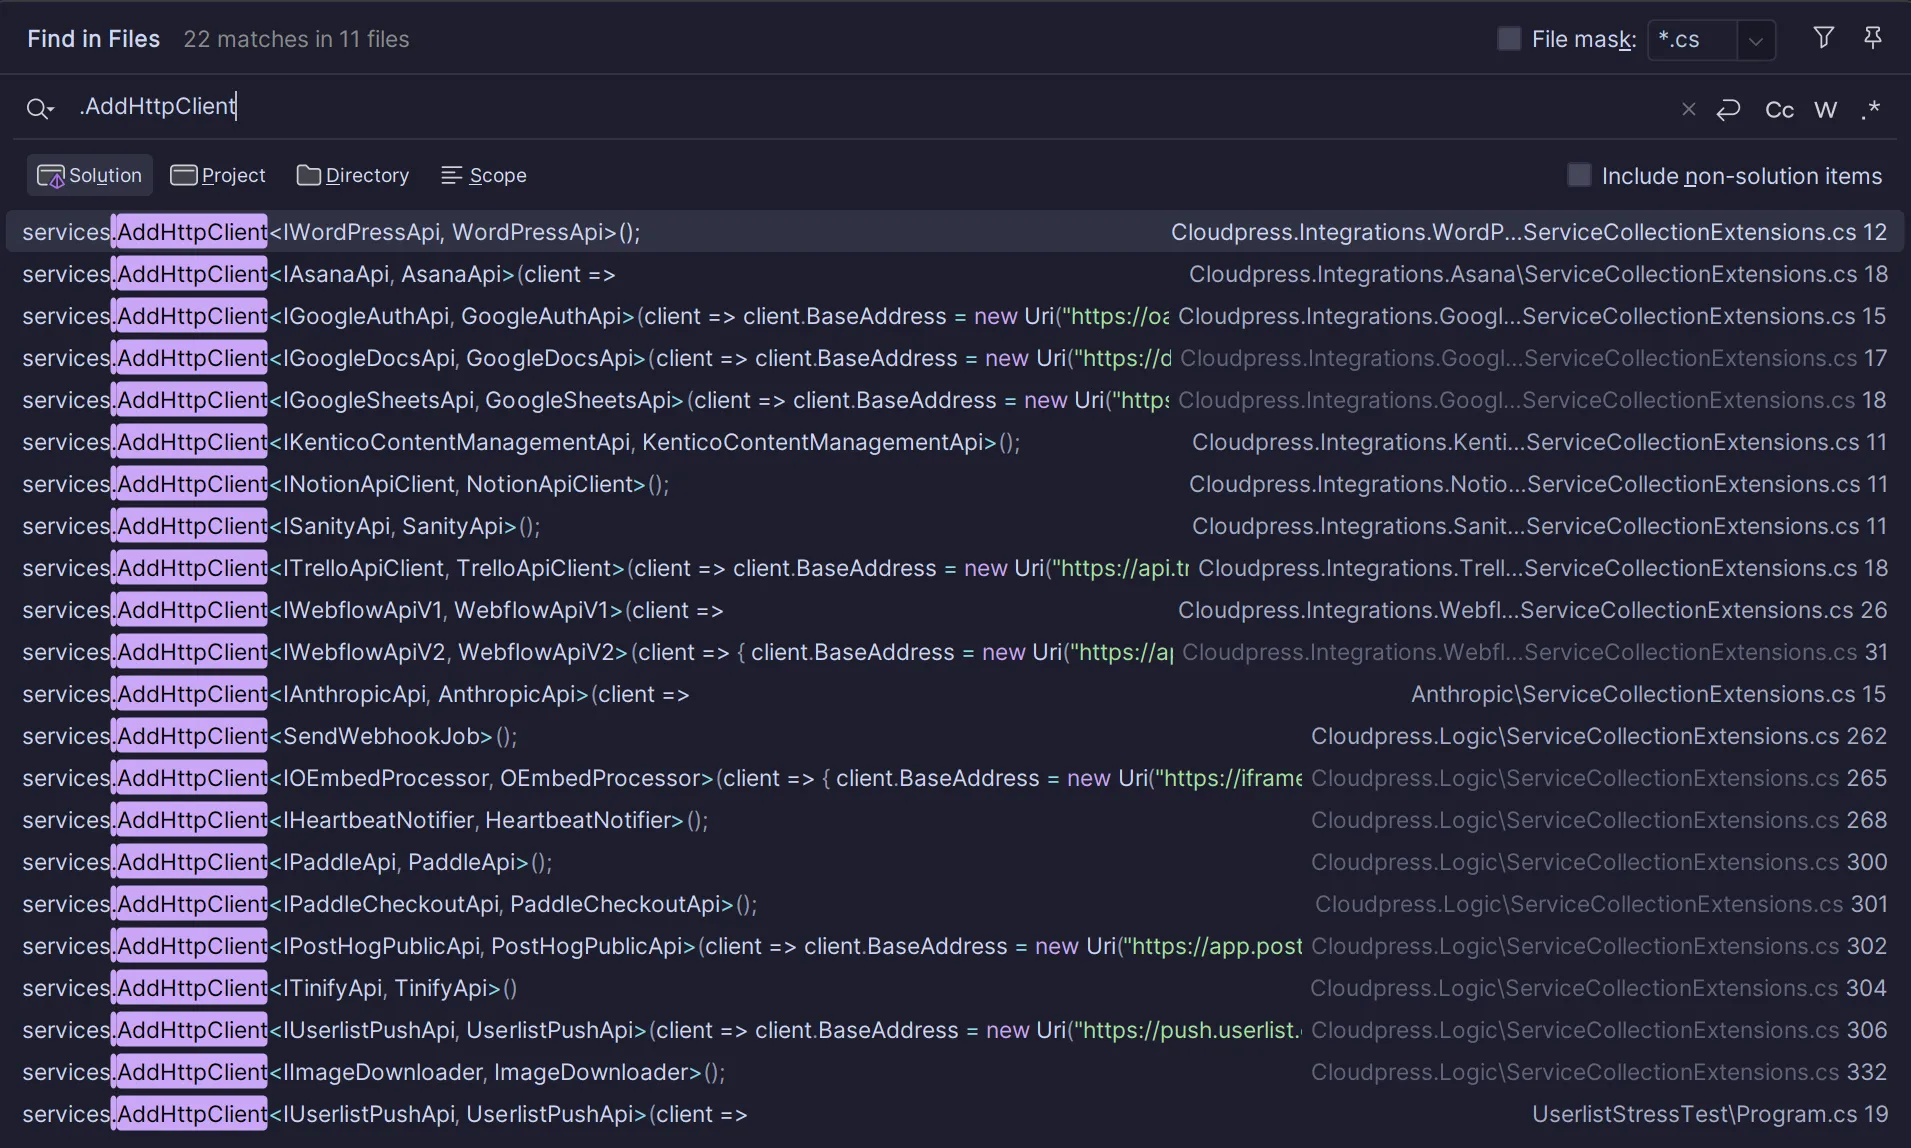
The bottom line is that I’ve had to write a lot of API wrappers. At last count there are around 22 API wrappers in the Cloudpress code base.

All of these wrappers are using Flurl under the hood. In this blog post I want to discuss my process for creating new API clients with Flurl.
The API client landscape
There are many ways you can create API clients in .NET. At the most basic level you can use HttpClient directly. The addition of the extension methods from the System.Net.Http.Json NuGet package makes this actually quite a pleasant experience. It gives you handy methods for making requests and parsing responses - as long as you are working with JSON payloads.

Even with the System.Net.Http.Json extension methods, you still have to do a bit of work yourself.
On the other end of the scale, however, are packages like Refit, which does a lot of the heavy lifting for you. I have used Refit before and in the previous version of this very blog, back in 2015, I wrote an article singing its praises. I have also seen a number of .NET YouTubers mentioning it over the past year. Refit is certainly good, and very well fit your purposes.
Moving even further down the automation scale, there are options like Kiota. Kiota is a CLI that can generate an entire API wrapper for you - as long as you have an OpenAPI document describing the API.
Why I use Flurl
So if the above-mentioned approaches are good, why am I a fan of Flurl?
First off, if we look at the approaches above, they are on different ends of the spectrum. One the one end, Kiota is completely automated and can create and entire API wrapper for you - as long as you are using OpenAPI. Moving a little down the spectrum, Refit does a lot of work on your behalf, but it can come at the cost of either not being able to handle edge cases elegantly, or not being able to handle them at all.
On the other end of the spectrum, if you use HttpClient directly (with the System.Net.Http.Json extension methods), you are completely in control, but it may leave you with a bit too much work to be handled by yourself.
Overall - on a high level - I find that Flurl slots nicely between the automation and simplicity of Kiota and Refit, and the control of HttpClient. Also, while a tool like Refit may work for some of the APIs I integrate with, it won’t work for others. Since I’d like to standardise on a single approach to creating API wrappers, Flurl is the one that ticks all the boxes for me.
Here are a few specific things where I think Flurl makes working with HttpClient directly much easier.
- Flurl has a wonderful fluent API for building URLs. Flurl actually consists of two packages; a fluent URL builder, and an HTTP client library. If you are only interested in constructing URLs, you can use the standalone Flurl NuGet package which includes only the fluent URL builder.
- Flurl can handle any content and response type supported by HttpClient, but it makes constructing the requests and processing the responses much simpler than having to mess around directly with
HttpContentandHttpResponseMessage. - Flurl has a built-in testing library that makes mocking and evaluating responses much simpler. This is one of the main reasons that I use Flurl in Cloudpress. I have an extensive test suite that ensures I send exactly the expected requests to the underlying Content Management Systems, and Flurl’s unit testing library makes this very simple.
My API client creation process
Getting to know the API endpoints
The first thing I do is spend time familiarising myself with the API. I create file named requests.http that is stored alongside the other API client source files. This file contains sample HTTP requests I use to understand and verify the API endpoints.
Storing these files alongside the API client source code is useful if you need to refer back to the raw HTTP requests in the future to understand how the API behaves. It is also useful for getting other developers up to speed with the API.
My API client boilerplate
When creating a new API client, I have settled into using a standard boilerplate as a starting point. Typically, my boilerplate outline looks like the following.
public class StoreApiClient{    private static readonly JsonSerializerOptions JsonSerializerOptions = new JsonSerializerOptions    {        DefaultIgnoreCondition = JsonIgnoreCondition.WhenWritingNull,        PropertyNamingPolicy = JsonNamingPolicy.CamelCase,        DictionaryKeyPolicy = JsonNamingPolicy.CamelCase    };
    private readonly FlurlClient _flurlClient;
    public StoreApiClient(HttpClient httpClient, ILogger<StoreApiClient> logger)    {        _flurlClient = new FlurlClient(httpClient)            .WithHeader("User-Agent", UserAgentGenerator.Generate())            .WithSettings(settings => { settings.JsonSerializer = new DefaultJsonSerializer(JsonSerializerOptions); });        _flurlClient.OnError(async call =>        {            if (call.Response != null)            {                var responseText = await call.Response.GetStringAsync();                logger.LogWarning(call.Exception,                    "Status code {StatusCode} received when calling the Store API. Response text: {ResponseText}",                    call.Response.StatusCode,                    responseText);            }        });    }
    // Specific endpoint methods goes here    // ...}
Let’s look at it in more detail:
- First off, I always start with a constructor taking at least two parameters, namely a
HttpClientand anILogger<T>. The first is because I’ll use IHttpClientFactory to manageHttpClientinstances. The second is for me to add logging to the API client. - Second, I declare and use a static
JsonSerializerOptionsinstance that applies the serialization options for the underlying API. (See MS guidance on caching and reusing JsonSerializerOptions instances); - I construct an instance of
FlurlClientwith the suppliedHttpClientand theJsonSerializerOptionsinstance. I also want to be a good Netizen, so I set aUser-Agentheader on all API requests. - I create an error handler to ensure I log any errors with the response payload. Having the response payload available has proven tremendously helpful over the years in tracking down the underlying issue when API requests fail.
Generating models
For models, I use C# record types and I dump them all in a single file called Models.cs. Creating the records for the models is a time-consuming job, so I have enlisted AI to speed things up.
Here is an example of an AI prompt that you can use. Adapt it to your own coding standards as required.
The following is the reponse from an API endpoint that returns products.
<example JSON response>
Please create C# types for the response. Use the following rules1. Use record types2. Suffix all model classes with the word Model3. Use positional parameters to declare properties and use Pascal Case for the property names4. Add the [JsonPropertyName] attribute on all the properties5. Use native arrays for lists
With the prompt above, I am given the following set of records for the API models.
public record CategoryModel(    [property: JsonPropertyName("id")] int Id,    [property: JsonPropertyName("name")] string Name,    [property: JsonPropertyName("image")] string Image,    [property: JsonPropertyName("creationAt")] DateTime CreationAt,    [property: JsonPropertyName("updatedAt")] DateTime UpdatedAt);
public record ProductModel(    [property: JsonPropertyName("id")] int Id,    [property: JsonPropertyName("title")] string Title,    [property: JsonPropertyName("price")] decimal Price,    [property: JsonPropertyName("description")] string Description,    [property: JsonPropertyName("images")] string[] Images,    [property: JsonPropertyName("creationAt")] DateTime CreationAt,    [property: JsonPropertyName("updatedAt")] DateTime UpdatedAt,    [property: JsonPropertyName("category")] CategoryModel Category);
Your mileage on this approach may vary. One downside is that it can, for example, not infer which properties are nullable, so you may need to specify the correct nullability for properties. Also, you may often not be interested in the entire payload, but only certain properties. You can adapt your prompt to specify the properties you are interested or delete the non-necessary properties after generation.
The AI is just one more tool in your toolbox. Use it as you see fit.
Creating endpoints
For the endpoints themselves, I add methods to my API client class to wrap each of the underlying API endpoints. For the method names I try and standardise on standard verbs such List* for methods that return a list of items, Get* for methods that return a single item, etc. I suggest you pick some sort of convention based on your own naming conventions and stick to it.
The method bodies themselves are fairly simple as I am using the power of Flurl to build up the request URL and then use the appropriate method to invoke the required HTTP Verb, e.g. PostJsonAsync to do a POST or GetJsonAsync to do a GET request.
public class StoreApiClient{    // .. some code omitted for brevity
    public Task<ProductModel[]> CreateProduct(CreateProductModel model)    {        return _flurlClient            .Request("products")            .PostJsonAsync(model)            .ReceiveJson<ProductModel>();    }
    public Task<ProductModel[]> ListProducts(ProductFilterParams? filter = null)    {        return _flurlClient.Request("products")            .SetQueryParams(new            {                categoryId = filter?.CategoryId,                price_min = filter?.PriceMin,                price_max = filter?.PriceMax,            })            .GetJsonAsync<ProductModel[]>();    }}
Registering API clients
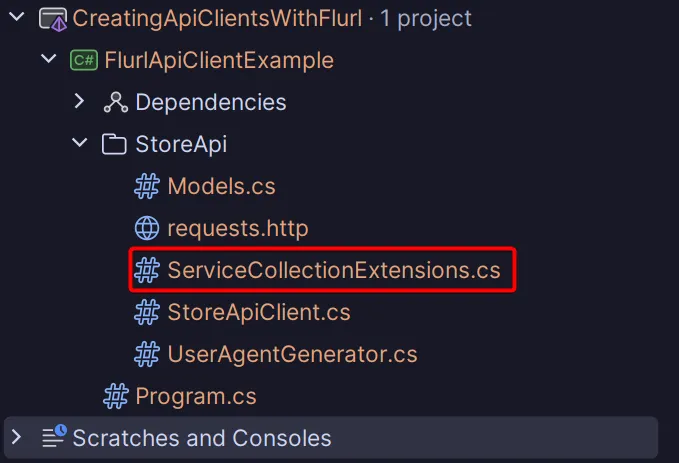
For registering the API client and related classes, I create a class called ServiceCollectionExtensions which is colocated with the API client code.

The ServiceCollectionExtensions extensions class contains an extension method for IServiceCollection which handles the registration of the HttpClient and other related classes.
public static class ServiceCollectionExtensions{    public static IServiceCollection AddStoreIntegration(this IServiceCollection services)    {        // Register the API client        services.AddHttpClient<StoreApiClient>(client => client.BaseAddress = new Uri("https://api.escuelajs.co/api/v1/ "));
        return services;    }}
The example above is fairly simple, but in practice all of my integrations usually involves some configuration and other helper classes as well. For example, here is the code for registering all of my Webflow integration in Cloudpress. I like that everything is configured in a single method call and not spread out over multiple method calls in my ASP.NET Core startup code.
public static class ServiceCollectionExtensions{    public static void AddWebflowIntegration(this IServiceCollection services, IConfiguration configuration)    {        // Configuration        services.AddOptions<WebflowAuthenticationOptionsV1>()            .Bind(configuration.GetSection("Authentication:WebflowV1"))            .ValidateDataAnnotations()            .ValidateOnStart();        services.AddOptions<WebflowAuthenticationOptionsV2>()            .Bind(configuration.GetSection("Authentication:WebflowV2"))            .ValidateDataAnnotations()            .ValidateOnStart();
        // API        services.AddHttpClient<IWebflowApiV1, WebflowApiV1>(client =>        {            client.BaseAddress = new Uri("https://api.webflow.com/");            client.DefaultRequestHeaders.Add("Accept-Version", "1.0.0");        });        services.AddHttpClient<IWebflowApiV2, WebflowApiV2>(client =>        {            client.BaseAddress = new Uri("https://api.webflow.com/v2/");        });
        // Content export integration        services.AddKeyedTransient<IContentExportIntegration, WebflowIntegration>(WebflowConstants.ServiceIdentifier);        services.AddKeyedTransient<IDocumentSourceIntegration, WebflowCmsDocumentSourceIntegration>(WebflowConstants.ServiceIdentifier);        services.AddKeyedTransient<ICloudpressIntegration, WebflowIntegration>(WebflowConstants.ServiceIdentifier);        services.AddTransient<WebflowIntegrationV1>();        services.AddTransient<WebflowIntegrationV2>();
        // Content converters        services.AddTransient<WebflowHtmlConverter>();    }}
In my application code, this now becomes a simple method call to register all the classes for a single integration:
services .AddWebflowIntegration(configuration) .AddStoreIntegration();Conclusion
In this blog post I discussed the workflow and patterns I use in Cloudpress for creating API clients for over 20 external integrations. I hope you can pick up one or two tips from this to help you on future projects.
Sample source code can be found at https://github.com/jerriepelser-blog/creating-api-clients-with-flurl